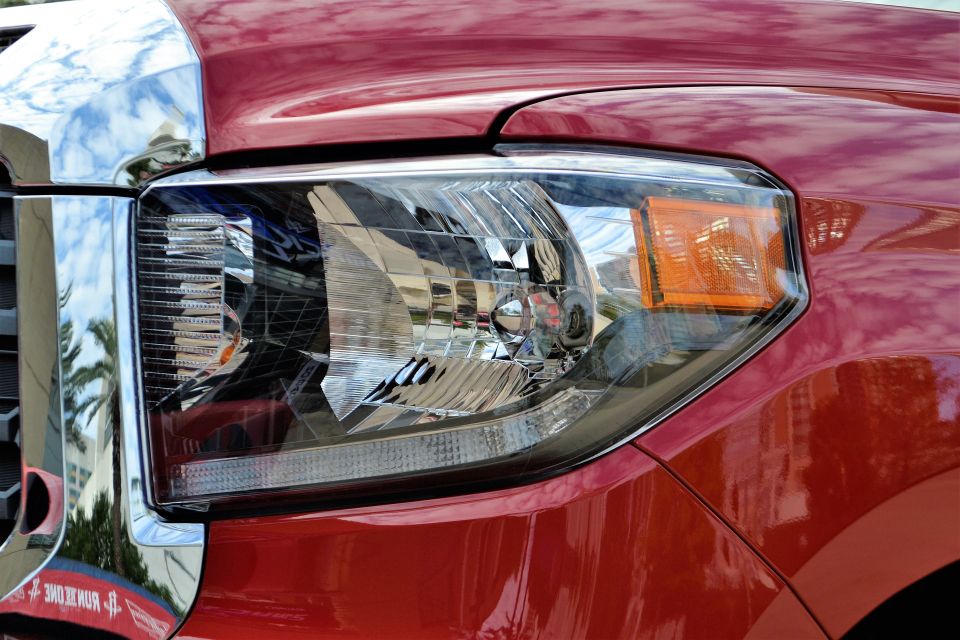
Headlights are essential for safe driving, but over time, they can become cloudy, yellowed, or scratched, reducing their effectiveness and compromising your visibility on the road. Fortunately, cleaning and restoring your headlamps is a straightforward process that can significantly improve their appearance and functionality. Here’s a step-by-step guide on how to clean and restore your headlamps to make them look and perform like new.
1. Gather Your Supplies
Before you begin the restoration process, make sure you have the following supplies:
- Headlight cleaning kit (often includes polishing compound and microfiber cloths)
- Sandpaper (various grits, typically 800, 1000, and 2000 grit)
- Masking tape
- Glass cleaner or mild soap
- Water
- Automotive polish or headlight restoration polish
- UV sealant (optional, for longer-lasting protection)
2. Prepare the Area
To avoid damaging the surrounding paint and trim, use masking tape to cover the edges of the headlamp and the area around it. This will protect your car’s finish from scratches and abrasions during the restoration process.
3. Clean the Headlights
Start by cleaning the headlight surface with a glass cleaner or mild soap and water. Use a microfiber cloth to remove any dirt, grime, or debris. This step is crucial as it ensures that you’re not rubbing any particles into the headlamp lens during the sanding process.
4. Sand the Headlights
Sanding helps remove the top layer of oxidation and scratches on the headlamp lens. Follow these steps:
1. Wet Sanding: Wet the headlamp surface and the sandpaper with water. Use 800-grit sandpaper for the initial sanding. Gently sand the headlamp in a back-and-forth motion, applying even pressure. Keep the surface wet to prevent scratches and overheating.
2. Progress to Finer Grits: After sanding with 800-grit, switch to 1000-grit sandpaper and repeat the process. Finally, use 2000-grit sandpaper to smooth out the surface. This will help eliminate any remaining scratches and prepare the lens for polishing.
3. Rinse and Dry: Rinse the headlamp thoroughly with water to remove any sanding residue. Dry it with a clean microfiber cloth.
5. Polish the Headlights
Polishing helps restore clarity and shine to the headlamp lens. Here’s how to do it:
1. Apply Polish: Apply a small amount of automotive polish or headlight restoration polish to a clean microfiber cloth. Rub the polish onto the headlamp in a circular motion, covering the entire surface. Use consistent pressure and make sure to work the polish into any remaining imperfections.
2. Buff the Surface: After applying the polish, use a clean, dry microfiber cloth to buff the headlamp, removing any excess polish and enhancing the shine. Buffing helps to bring out the clarity and remove any haze left behind by the polishing process.
6. Apply UV Sealant (Optional)
To protect your newly restored headlights and prolong their clarity, you can apply a UV sealant. This step helps to shield the headlamp lens from future UV damage and oxidation.
1. Apply Sealant: Follow the manufacturer’s instructions for applying the UV sealant. Typically, you’ll need to apply a thin, even layer over the headlamp surface.
2. Allow to Dry: Let the sealant dry completely, as recommended by the product instructions. This will ensure that your headlights remain protected and maintain their restored appearance.
7. Final Touches
Remove the masking tape from around the headlamp and inspect your work. The headlamp should now be clear and free of oxidation and scratches. If needed, give it a final wipe with a clean microfiber cloth to ensure a spotless finish.
Conclusion
Restoring your headlamps can dramatically improve both their appearance and functionality, enhancing your driving safety and giving your vehicle a refreshed look. By following these steps—cleaning, sanding, polishing, and applying UV sealant—you can achieve professional-quality results and extend the life of your headlights. Regular maintenance and care will help keep your headlamps in top condition and ensure optimal visibility on the road.


